Often is necessary use a physical controller that manages the configurations based on our need. Digital audio equipment generally offers support to MIDI protocol. By him, a MIDI controller equipment can manage it.
Pedal Pi offers an alternative to the MIDI. By the Pedal Pi component API, is possible implements custom controllers using the hardware GPIO pins. Also, adding a GPIO library will be easy use the common electronic components like buttons, switches, and LEDs.
In this article, we will create a simple component for manages the current pedalboard.
1. Configuring environment
The initial step is to install the requirements. We will assume that you are using a Raspberry Pi with an updated version of Raspbian OS. If you are not using the Raspbian, you can download and install it.
For managing the GPIO in high level, we will use the GPIO Zero, a friendly Python API for physical computing for Raspberry Pi. This library is installed by default in Raspbian, but you can install it using:
sudo apt update
sudo apt install python3-gpiozero
If you haven't installed the Pedal Pi libraries, you can check out the article that explains how to configure a Pedal Pi machine.
2. Testing the buttons
Our first script is a simple hello world like code using a button: Pressing the button, the script prints the classical Hello World in the console. If you haven't familiarity with python, a good choice is checking the Raspberry Foundation Python Tutorial.
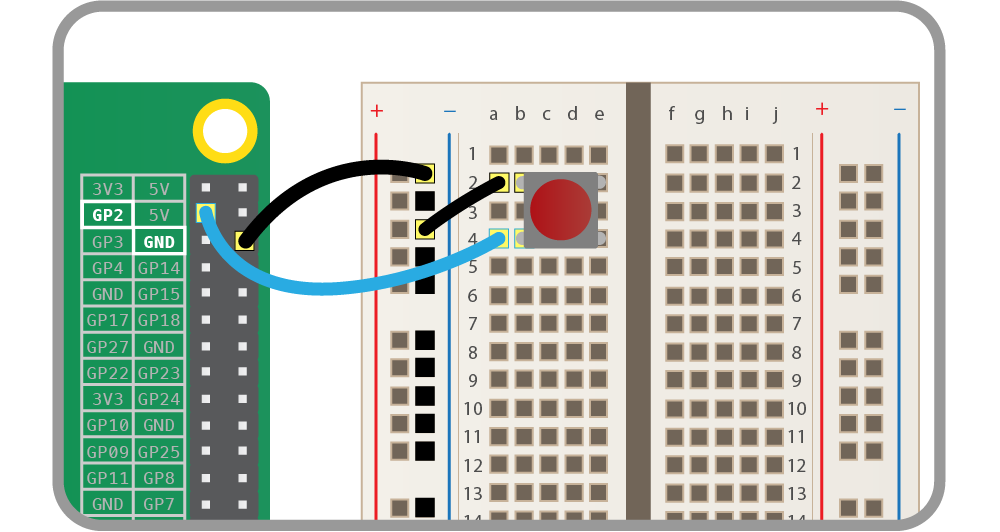
Connect the button like this:
And writes the first code:
from gpiozero import Button

button = Button(2)

while True:
    if button.is_pressed:
        print("Button is pressed")
    else:
        print("Button is not pressed")
Our goal is when pressed the button next, the current pedalboard changes to the next, and when pressed the button before, the current pedalboard changes to the before. The current code is not suitable if the user press during two seconds a button, as an example, it will changes the current pedalboard very times! Now we will fix it, printing the message only when the button is pressed.
from gpiozero import Button
from time import sleep

next_button = Button(2)
before_button = Button(3)

def to_next_pedalboard():
    print("Button next is pressed")

def to_before_pedalboard():
    print("Button before is pressed")

next_button.when_pressed = to_next_pedalboard
before_button.when_pressed = to_before_pedalboard

sleep()
For more details about the button GPIO Zero API, check their documentation.
3. Controlling the current pedalboard
For changes the current pedalboard, we can use the CurrentContoller, a controller for manages the current pedalboard. This class contains some interesting methods, like to_before_pedalboard and to_next_pedalboard (we need them!). For other methods, see the CurrentController docs. The following code shows how to obtains the controller by the application.
from application.controller.current_controller import CurrentController

current_controller = application.controller(CurrentContoller)

# ...

next_button.when_pressed = current_controller.to_next_pedalboard
before_button.when_pressed = current_controller.to_before_pedalboard
Runs the Pedal Pi (for a while) requires the execution of the main code. It loads the components and initializes the Pedal Pi. We will write a new main code that contains the code to controls the Pedal Pi 😊.
import sys
from signal import pause

from gpiozero import Button
from application.application import Application

application = Application(path_data="data/", address='localhost')

# Code to controls the current pedalboard
from application.controller.current_controller import CurrentController

current_controller = application.controller(CurrentContoller)
next_button = Button(2)
before_button = Button(3)

next_button.when_pressed = current_controller.to_next_pedalboard
before_button.when_pressed = current_controller.to_before_pedalboard

# The code must be before the "start()" calls.
application.start()

try:
    pause()
except KeyboardInterrupt:
    application.stop()
4. Class component
Mixing IHM code with other codes is a problem. Add more functionalities will cause confusing in a moment (hello Spaghetti code). We use now Object Orientation for improves our code.
Now that we know how to use buttons in the library GPIO Zero, it's time to learn about components. Component in Pedal Pi is the way that the Application module allows adding functionalities to Pedal Pi. The functionalities are built, in general, to provides Human Machine Interface (HMI) or to provides an opening for an another software consumes the features. Through a component
Changing the previous code for component support:
# FILE: pedalboard_selector.py
from gpiozero import Button
from application.component.component import Component
from application.controller.current_controller import CurrentController

class PedalboardSelector(Component):

    def __init__(self, application):
        super(RaspberryP0, self).__init__(application)
        current_controller = application.controller(CurrentContoller)
        self.next_button = Button(2)
        self.before_button = Button(3)

        self.next_button.when_pressed = current_controller.to_next_pedalboard
        self.before_button.when_pressed = current_controller.to_before_pedalboard

    def close(self):
        self.next_button.close()
        self.before_button.close()
And add support
# FILE: main.py
import sys
from signal import pause

from gpiozero import Button
from application.application import Application
# To import the component created
from pedalboard_selector import PedalboardSelector

application = Application(path_data="data/", address='localhost')
# Add the code
application.register(PedalboardSelector(application))
application.start()

try:
    pause()
except KeyboardInterrupt:
    application.stop()
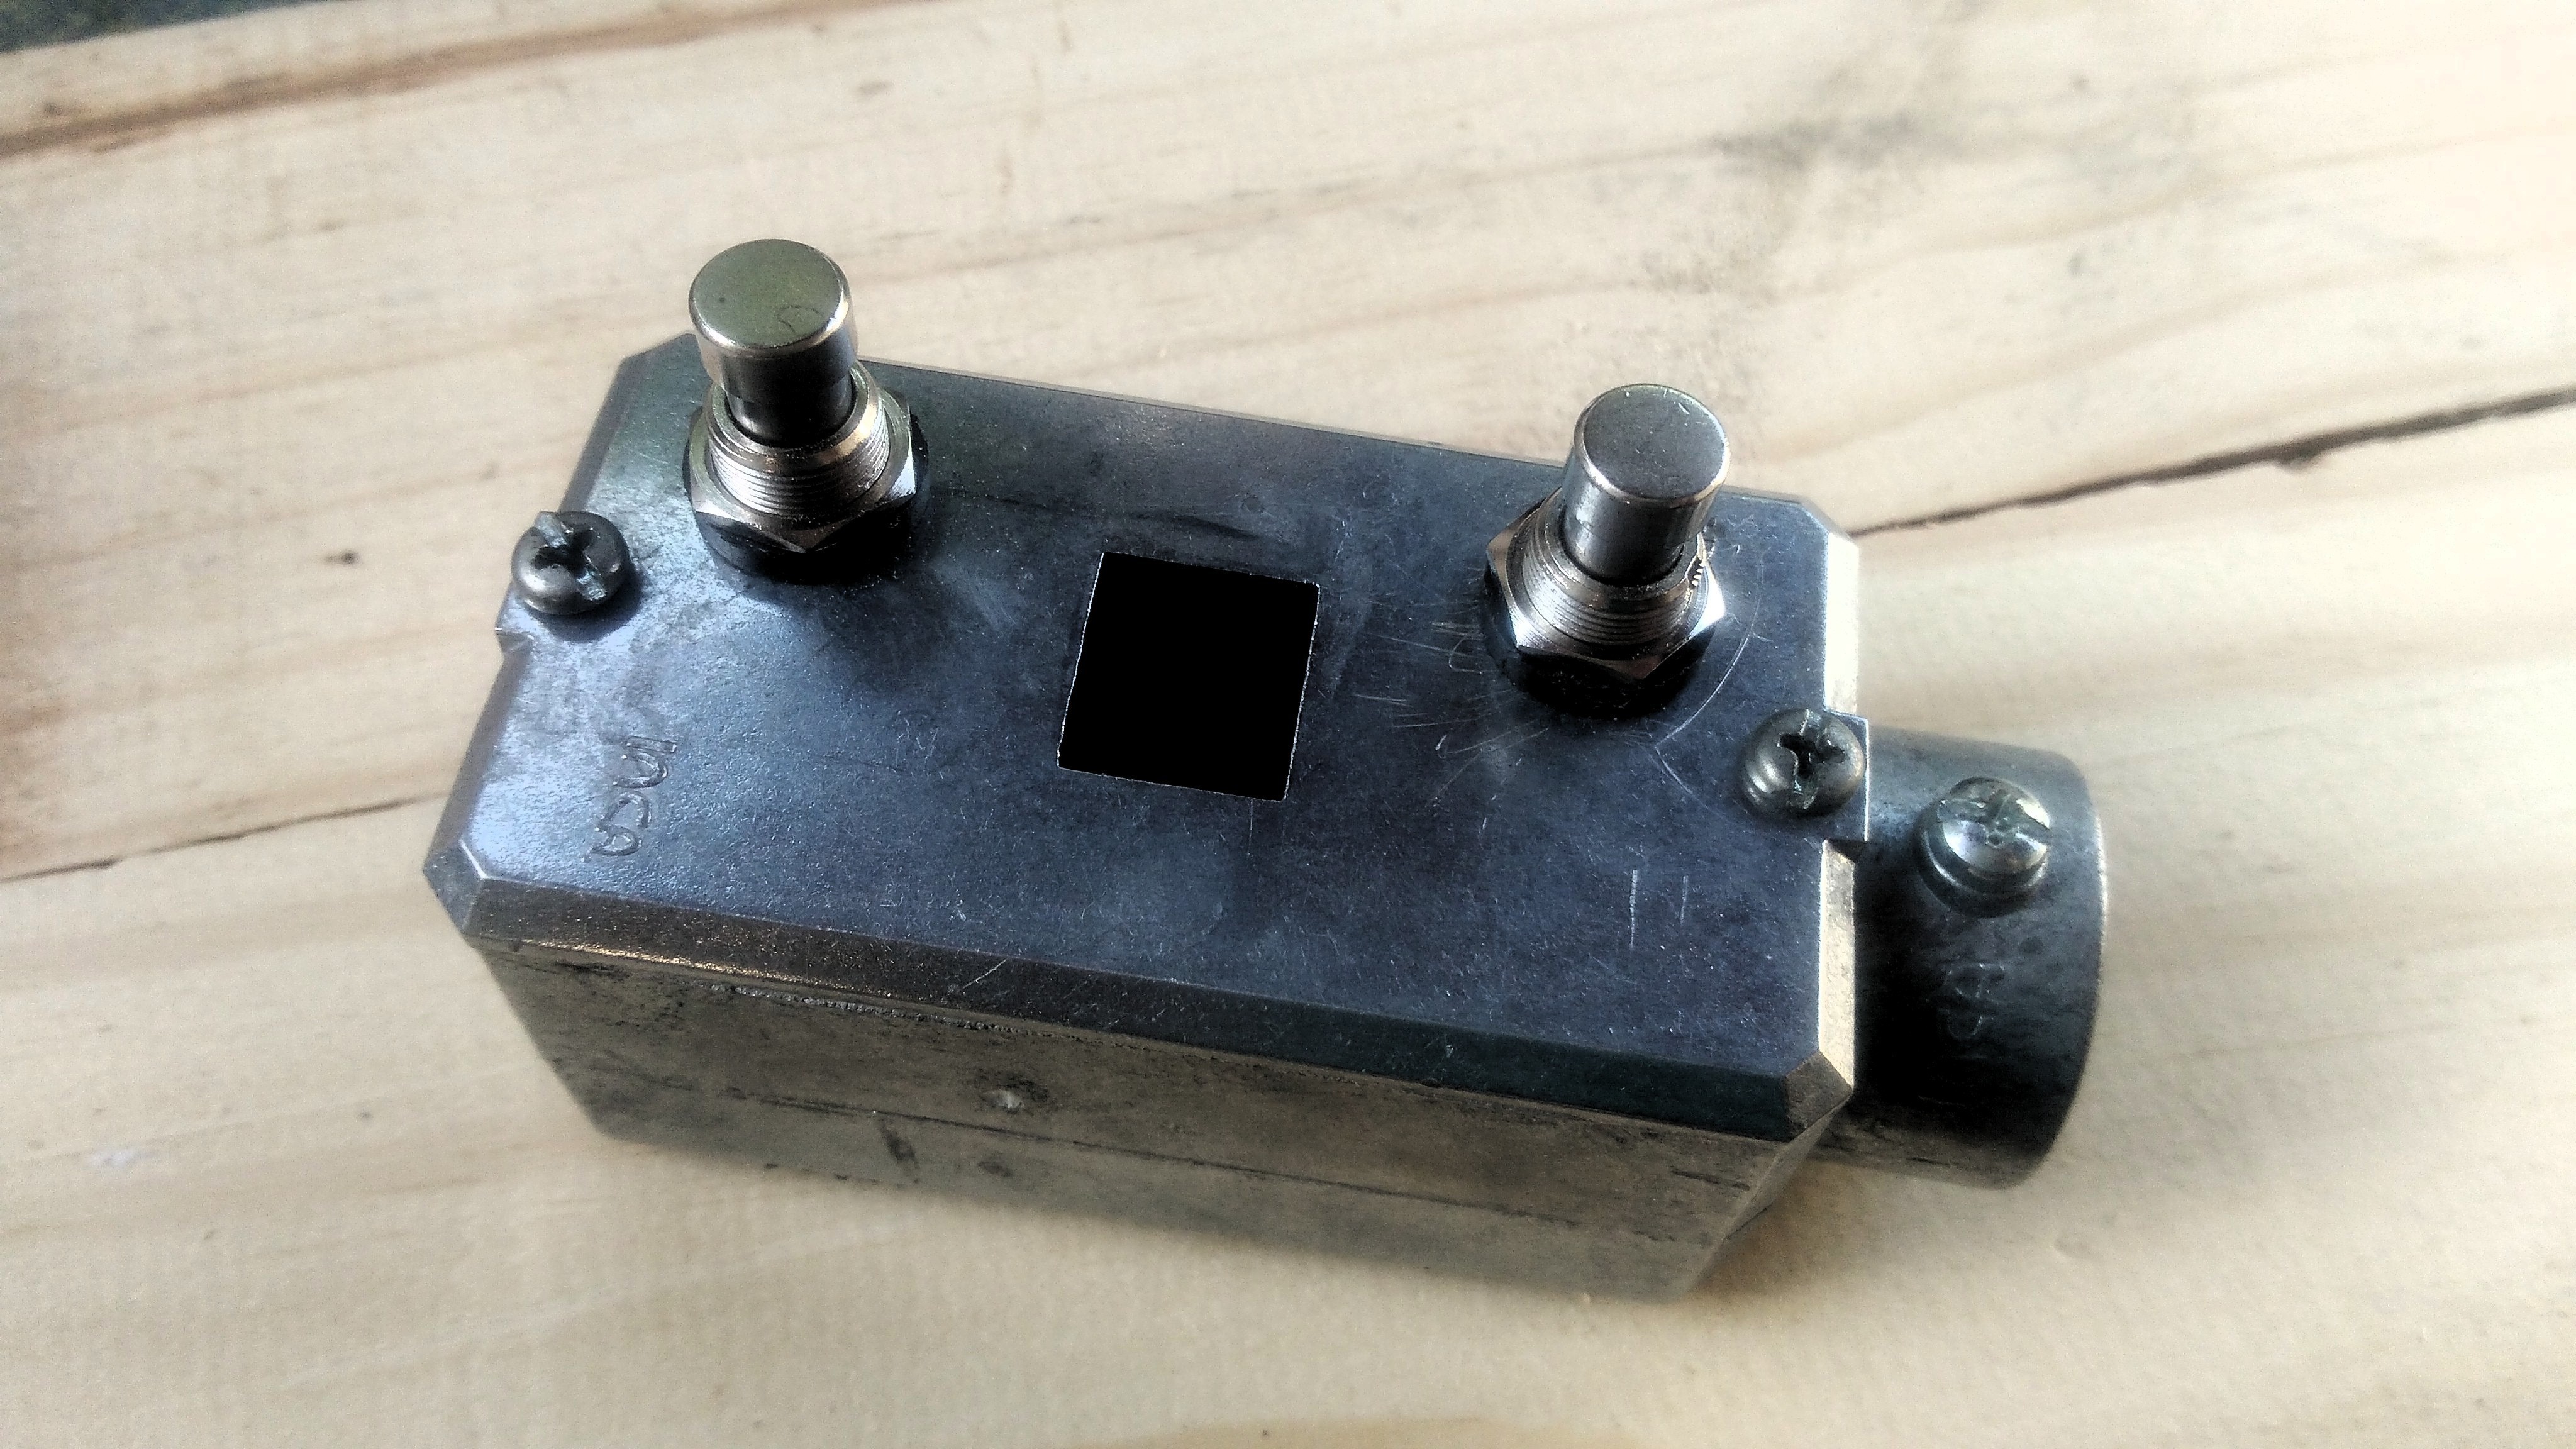
5. Physical buttons
6. Acknowledgment
Thanks for the open community by the free images used in this blog post!